Capture the opening
Establish your references, enter the site measurements and construct the outline. Include the holes and cut-outs needed for the survey.
GrandVerify reconstructs an opening from the measurements you enter. Its verification stage lets you compare key dimensions with the real opening while you are still on site.
Establish your references, enter the site measurements and construct the outline. Include the holes and cut-outs needed for the survey.
Compare dimensions shown in Verify Opening with measurements taken directly from the physical opening. Check that you are measuring between the same points.
Investigate differences before confirming the checks. Once verification is complete, prepare the required opening documents and add the opening photo.
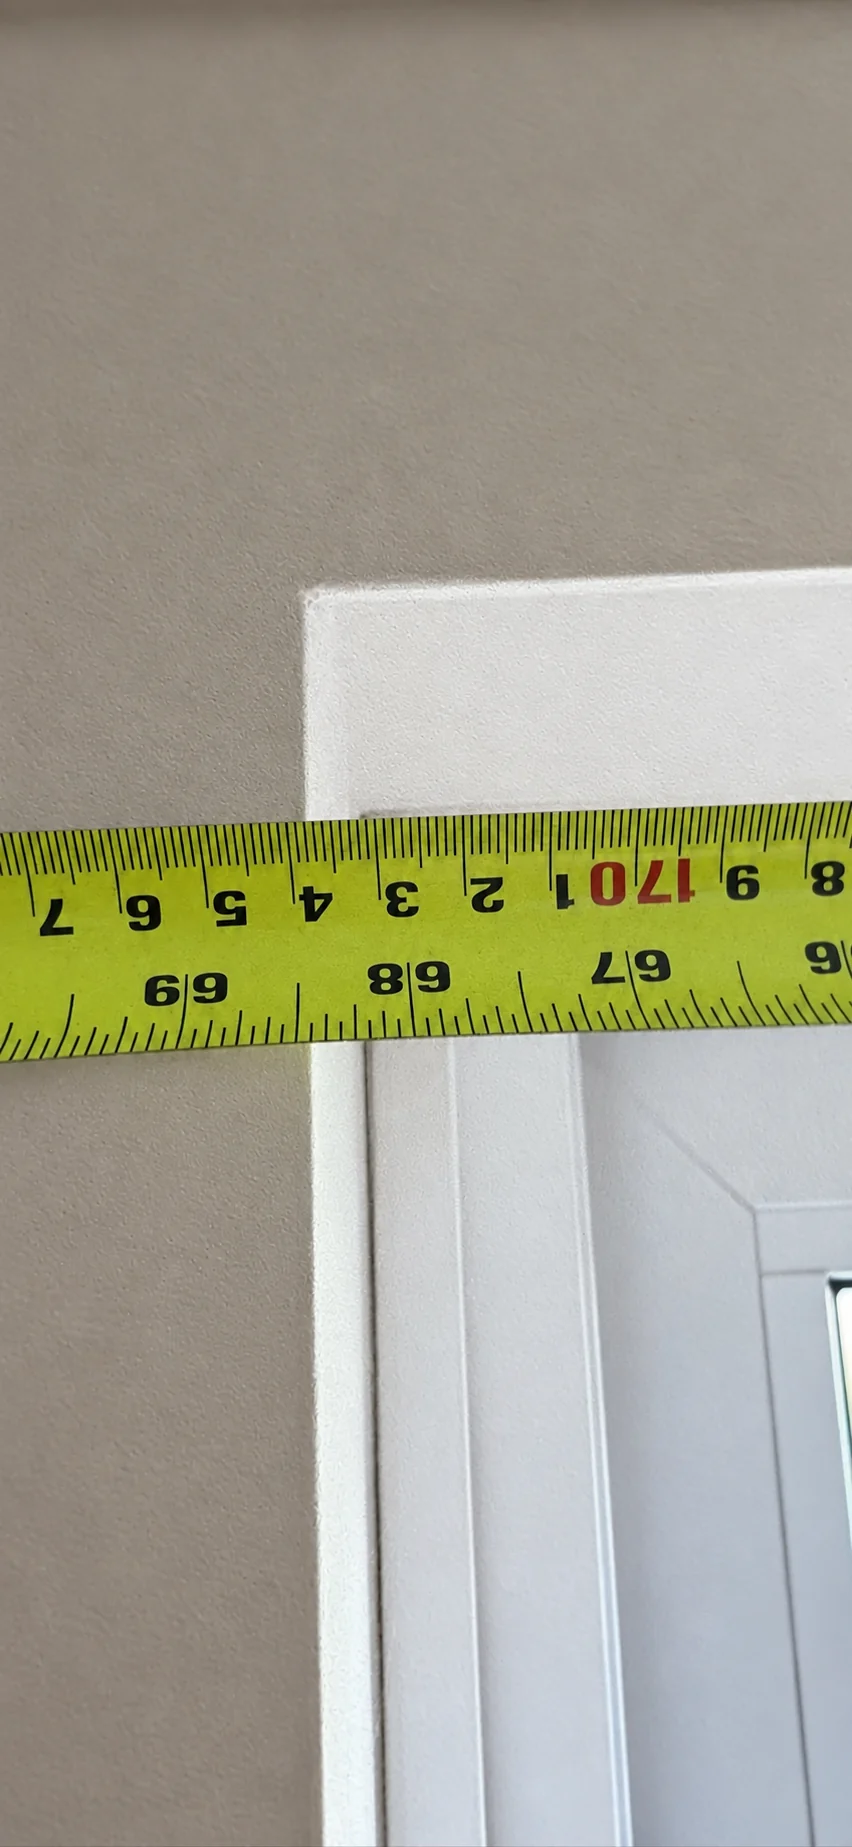
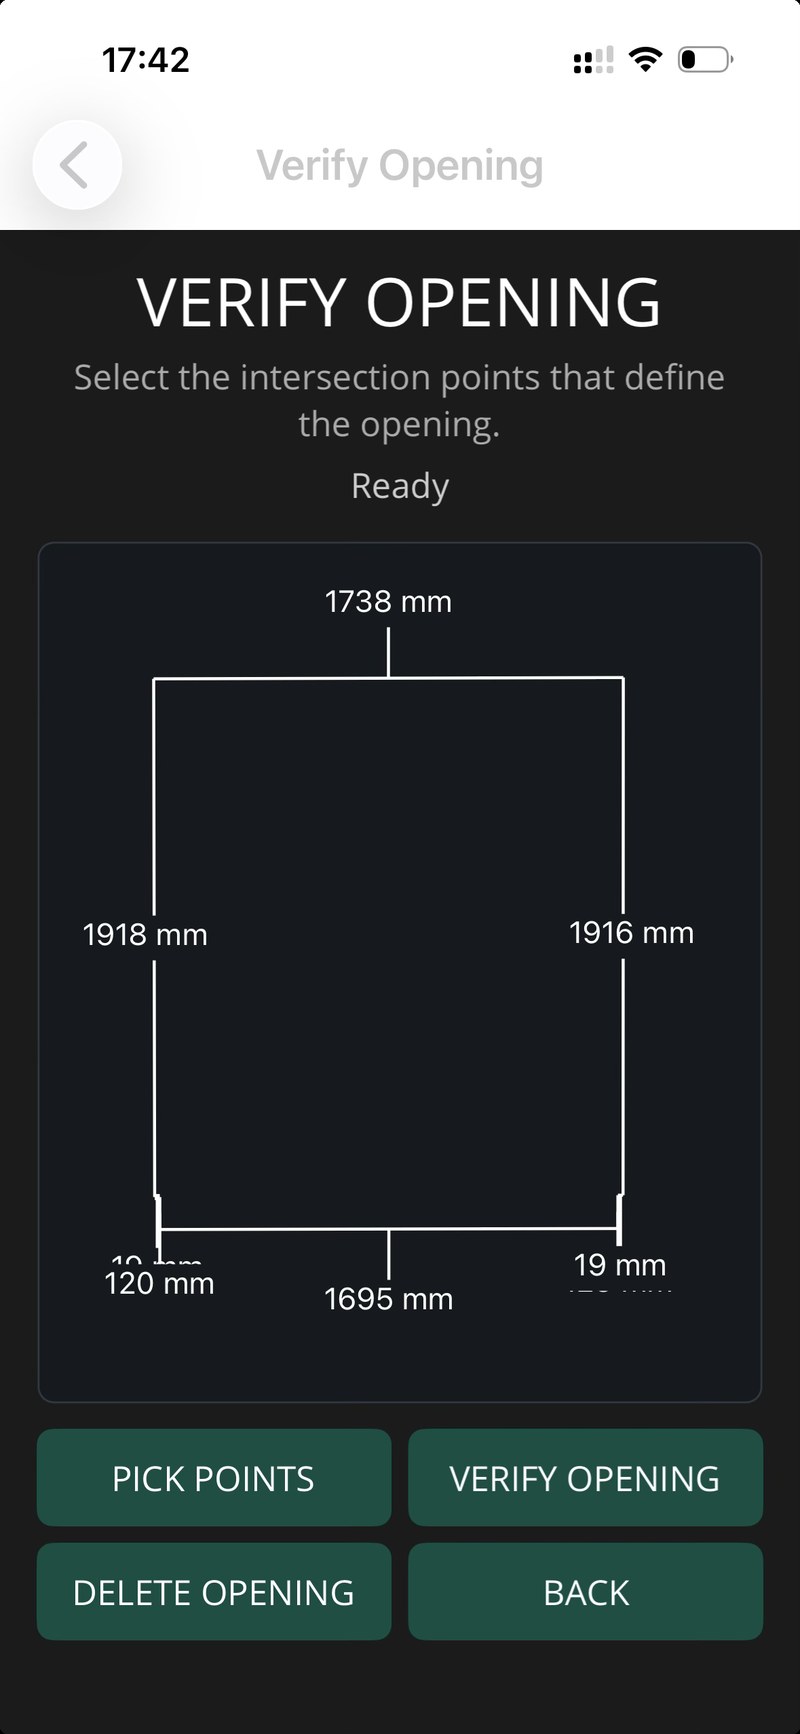
The app works with the values you enter. A clear digital drawing is useful, but it still needs to be checked against the physical opening. Keep your datum consistent and confirm which edges or points each check refers to.
GrandVerify does not choose manufacturing tolerances, glass sizes or installation clearances. Those remain with your design team.
No. You take measurements on site and enter them into the app. GrandVerify builds geometry from those measurements and supports a separate verification stage.
The workflow supports shaped openings and details such as holes and cut-outs. See the circular opening example and geometry help.
Opening Complete lets you create the documents required by your settings and add an opening photo. An active Pro subscription is required to finish and export. See the document workflow.
Open the complete walkthrough and choose 1:35 Verify the opening.
The office needs both the measured geometry and the context behind it.